Skills
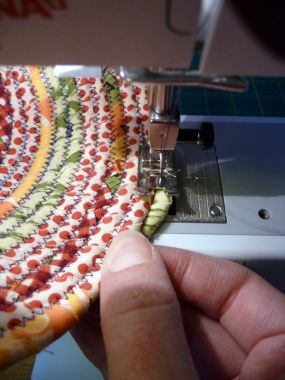
Roll HemI learned how to do a roll hem for my Halloween costume. I needed to hem the curved edge of a cape. With a curved edge, you cannot just fold the fabric over and sew. There are several ways you can do a roll hem, but I used a cheater method. I sewed inside the raw edge of the fabric, leaving about a half inch of space between the stitching and the edge. Then I took my iron and creased the fabric with the row of stitches as the edge of the crease. After that, I sewed this ironed edge down, keeping really close to the edge of the crease. I folded over again, just a tiny fold allowing for the width of the stitching. I didn't iron this; I just folded it as I sewed. I cut off the extra fabric from the first fold and then made my final crease, another edge fold with stitching to keep it in tact. I ended up with a really tidy, uniform hem.
|
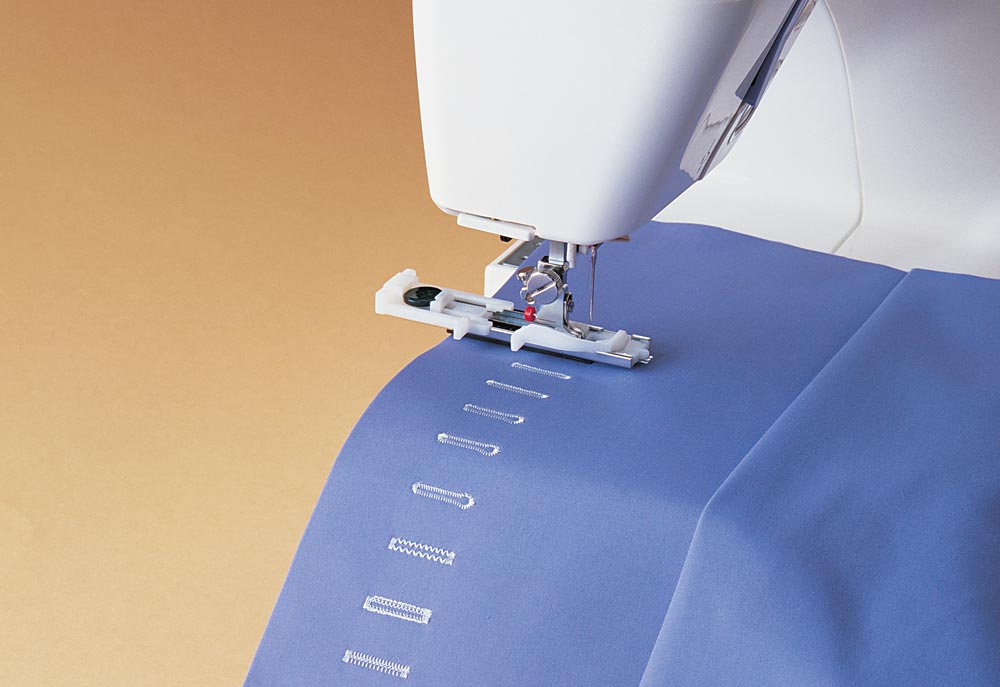
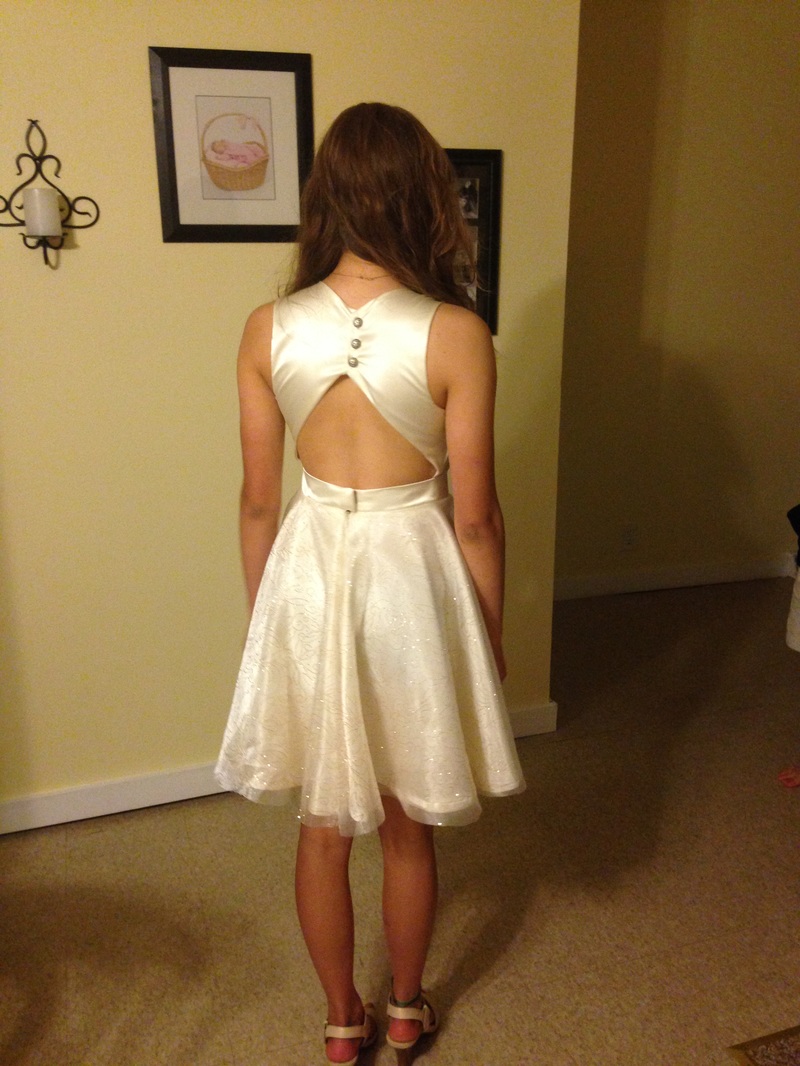
Button HolesI worked on button holes when I made my friend's homecoming dress. When making button holes, you need to use a button hole foot. This foot is sort of peculiar- it is longer than traditional foots and has sliding parts. It is also made of plastic. I practiced the button hole several times on a scrap piece of fabric before I did it on the actual project (see below for the dress and the button detail on the back).
|
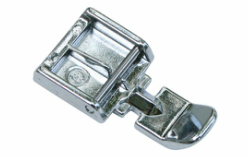
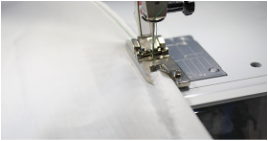
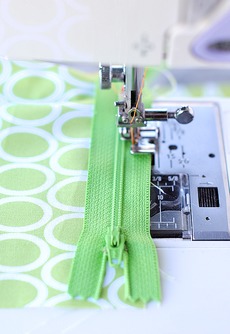
Using the Zipper FootThis was also a skill I learned whilst working on my friend's homecoming dress. The zipper foot makes it easy to sew right along the edge of the zipper because it lets you sew on wither side of the foot just by clipping it in one whichever side you need. Most foots only affix at one place in the middle, because you generally only need to sew in the middle. The zipper foot clips on in two places, one on either side. When switching edges of a zipper, just unclip the foot and switch sides; put the left part of the foot into the clip if you started on right and vice versa.
|

The seam ripper is one of my most used tools. It's the eraser for all the mistakes I make. If I'm not happy with a row of stitches, or if the tension got messed up and made the stitching too loopy or too tight, then I take the seam ripper to the thread and start over.
|
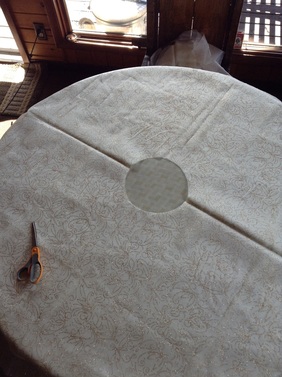
The dress above was my first major project. Not really knowing what I was doing and because I wasn't using a pattern, I made my own pattern out of duck tape and an old T-shirt. The skirt portion of the dress is a circle skirt, so it took a lot of fabric to make it, but it was very twirly and my model loved wearing it for that reason. The picture on the right is all the fabric it took for the circle skirt (that's two layers- the top sparkly mesh and the satiny cream colored fabric beneath). I had to measure very, very carefully and I cut the shape of the skirt when it was folded in half.
|
Resources
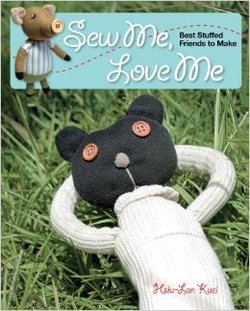
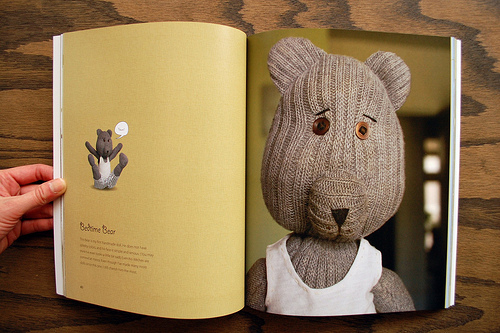
My aunt gave me this book when she knew I was interested in sewing. I really like the whimsical projects it consists of. The stuffed animals are relatively simple to make and easily personalized, and most of the animals are made out of easily found, recycled materials.
|
|
|
Zipper Sewing Tutorial
http://crazylittleprojects.com/2014/09/mastering-zipper-techniques-class.html Zippers are not that hard to learn how to sew on; much of the packaging for zippers contain directions. However, the directions are often not very in depth and when I learned how, I did a bit of research first. I really like using zippers because they are an essential part to my sewing projects and, when done correctly, make the finished product look polished. I use zippers in circle skirts, dresses, and pouches for pencils or other small items. |
|
|
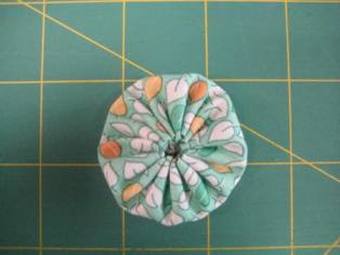
One of my favorite projects as a kid was the yo yo flower. Simple and versatile, I still use this as an embellishment to my projects today. I always sew buttons onto the centers of my yo yo flowers to make them more eye-catching and to cover up the raw edges at the center. To make a yo yo flower, I simply trace a bowl onto the wrong side (side without the pattern or color) of the fabric. I cut out the circle and use a running stitch all the way around the edge. Pull the running stitch tight, and the edges cinch, closing up the circle and forming the center of the flower.
My favorite stuffed animal had a handmade shirt decorated with yo yo flowers. It was her favorite piece of clothing because the flowers looked really cool. |